
Polymer And Steel Wall Pool Kit Installation Questions
These frequently asked questions may help you during the installation process. Whether you are installing a Polymer wall swimming pool kit or a Steel wall pool kit, these tips are sure to help!
Q. How tight should the swimming pool kit wall panel bolts be?
A. All inground pool kit wall panel lines need to have the bolts tight and secure. Do not over tighten. Two of the pool kit wall panel lines properly connect one panel to the next. One of the pool wall panel lines (Pinnacle) has stud/socket alignments
Q. How level should the pool kit wall panels be?
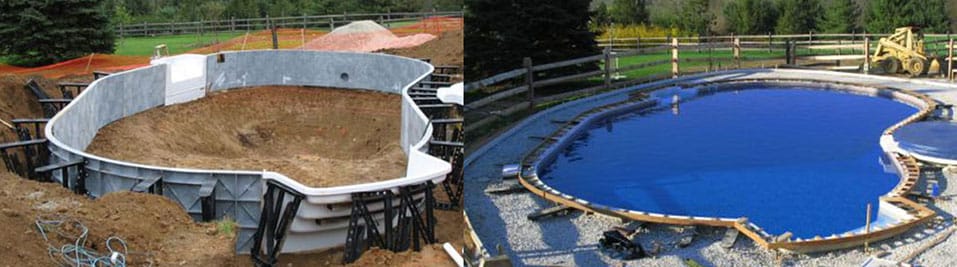
A. As with any construction project involving walls and footing, the inground pool kit wall panels need to be level, square and plumb (perfectly vertical) before the footer/collar is poured. After the swimming pool wall panels are bolted together, they need to be leveled by using the transit to level all panels to every other panel. While this step is progressing, continue to square the swimming pool kit also. After the pool wall panels are level and square, make sure they are plumb. After this is complete, and after the pool kit wall braces are all set, it is time for the concrete collar to be poured.
Q. How do I bolt the swimming pool kit wall panels to the pool step, in-wall ladder, cozy cove spa or swimout?
A. After leveling the polymer or steel pool step following the manufacturer’s instructions, clamp the pool wall panel to the pool steps so that the flanges on the side of the step align with the top and face of the pool kit wall panel. If wall stiffeners are in your way, mark all holes with a marker, remove polymer pool step from pool wall panels and drill holes where marked on polymer pool step flanges.
Q. My soil is too rocky or hard for the polymer stakes, what can I use?
A. Steel stakes are available as an up charge on all in-ground pool kit wall panel lines. Hydra, Cornerstone,Pinnacle. Sampson Steel pool kit wall panel systems come standard with steel stakes.
Q. What consistency should the concrete for the collar (bond beam) be?
A. When ordering concrete for the bond beam/collar, it should be 3,000 psi rating with a minimum of 5″ slump. This allows the concrete to flow around the swimming pool kit wall braces.
NOTE: Always check walls for straightness and plumb before concrete sets.
Pool Kit Coping Installation Questions
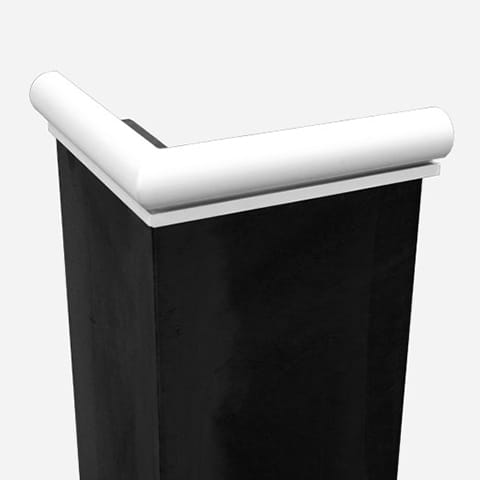
Q. Do I need to cut the pool kit coping to fit?
A. Both our bull-nose and cantilever pool kit coping require some cutting to fit. This can be done with a hacksaw, sawzall, jigsaw or a compound miter saw with a metal cutting blade.
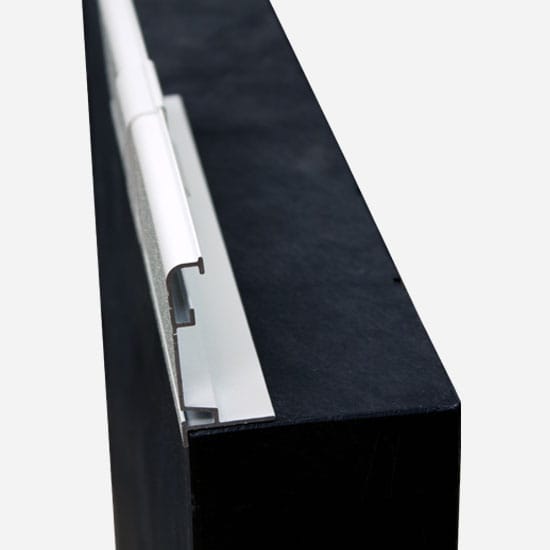
Q. Some of the swimming pool coping clips pop off.How can I correct this?
A. Make sure the joint where the coping sections meet is even. You may have to tap one or the other with the palm of your hand to align them evenly. Take the pool coping clip and bend it slightly into a tighter radius. Take a small amount of clear silicone and apply to the inside of the clip before installation.
Q. I have cantilevered coping. Where are my pool coping clips?
A. Cantilever pool kit coping does not require clips. You will need self-tapping screws only.
Q. During installation, my swimming pool coping was scratched. How could I repair the finish?
A. This can be touched up with paint supplied where you purchased. It is a specially formulated paint for the pool coping. It is sold in 12 oz cans and the part number is HO2974.
Q. Can I tape the swimming pool kit coping to protect it when pouring the swimming pool deck?
A. Painters tape can be used along the pool kit coping edge. Apply just prior to pouring the swimming pool deck. If there is adhesive transfer, use a rag and a product called GOOP or GOO GONE to remove. This is available at most major home-improvement centers.
All Images & Content © PoolWarehouse.com
Jones
Pool Kit Specialist
[email protected]
Phone: 800-515-1747
www.poolwarehouse.com


 What are our customers saying?
