
Swimming Pool Layout: Step 3
Choose your swimming pool layout very carefully, as a less desirable site can increase your time, cost and effort during installation. Consider the following when selecting a pool site:
- Review the local building codes for setback, easements, variances, and utilities (call utility companies).
- Look for flat space, drainage away from the pool is needed, a clear area will also help reduce costs.
- Have a wide access area for excavation equipment.
- Look for a sunny area, with little to no trees.
- Look at prevailing winds for the skimmer and return locations.
- Position pool to be near restrooms.
- Position pool to be close to an electrical supply to help reduce costs.
- Make sure the pool will not be built on fill dirt.
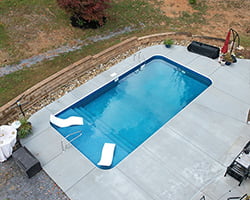
Rectangle Swimming Pool Layout
When laying out pool please be advised that the excavation will have an “over dig”. The over dig is typically 30” larger than the pool on each side and will enable you to work on the back side of the pool with ample room to spare. The over dig is an extension of the shelf. The shelf is where the panels rest. Note: the over dig may vary based on pool walls and braces combinations. Over dig is typically 24” to 36” greater than the pool size.
Examples:
- A 14’ x 28’ rectangle pool will have an excavation of 19” x 33”
- A 16’ x 32’ rectangle pool will have an excavation of 21” x 37”
- An 18’ x 36’ rectangle pool will have an excavation of 23” x 41”
NOTE: Always square the dig layout. If the pool has a step, take the position of the step and add extra excavation area for the steps. Drive stakes in the ground to form the box, use a bright marker paint to show the lines of the pool on the ground.
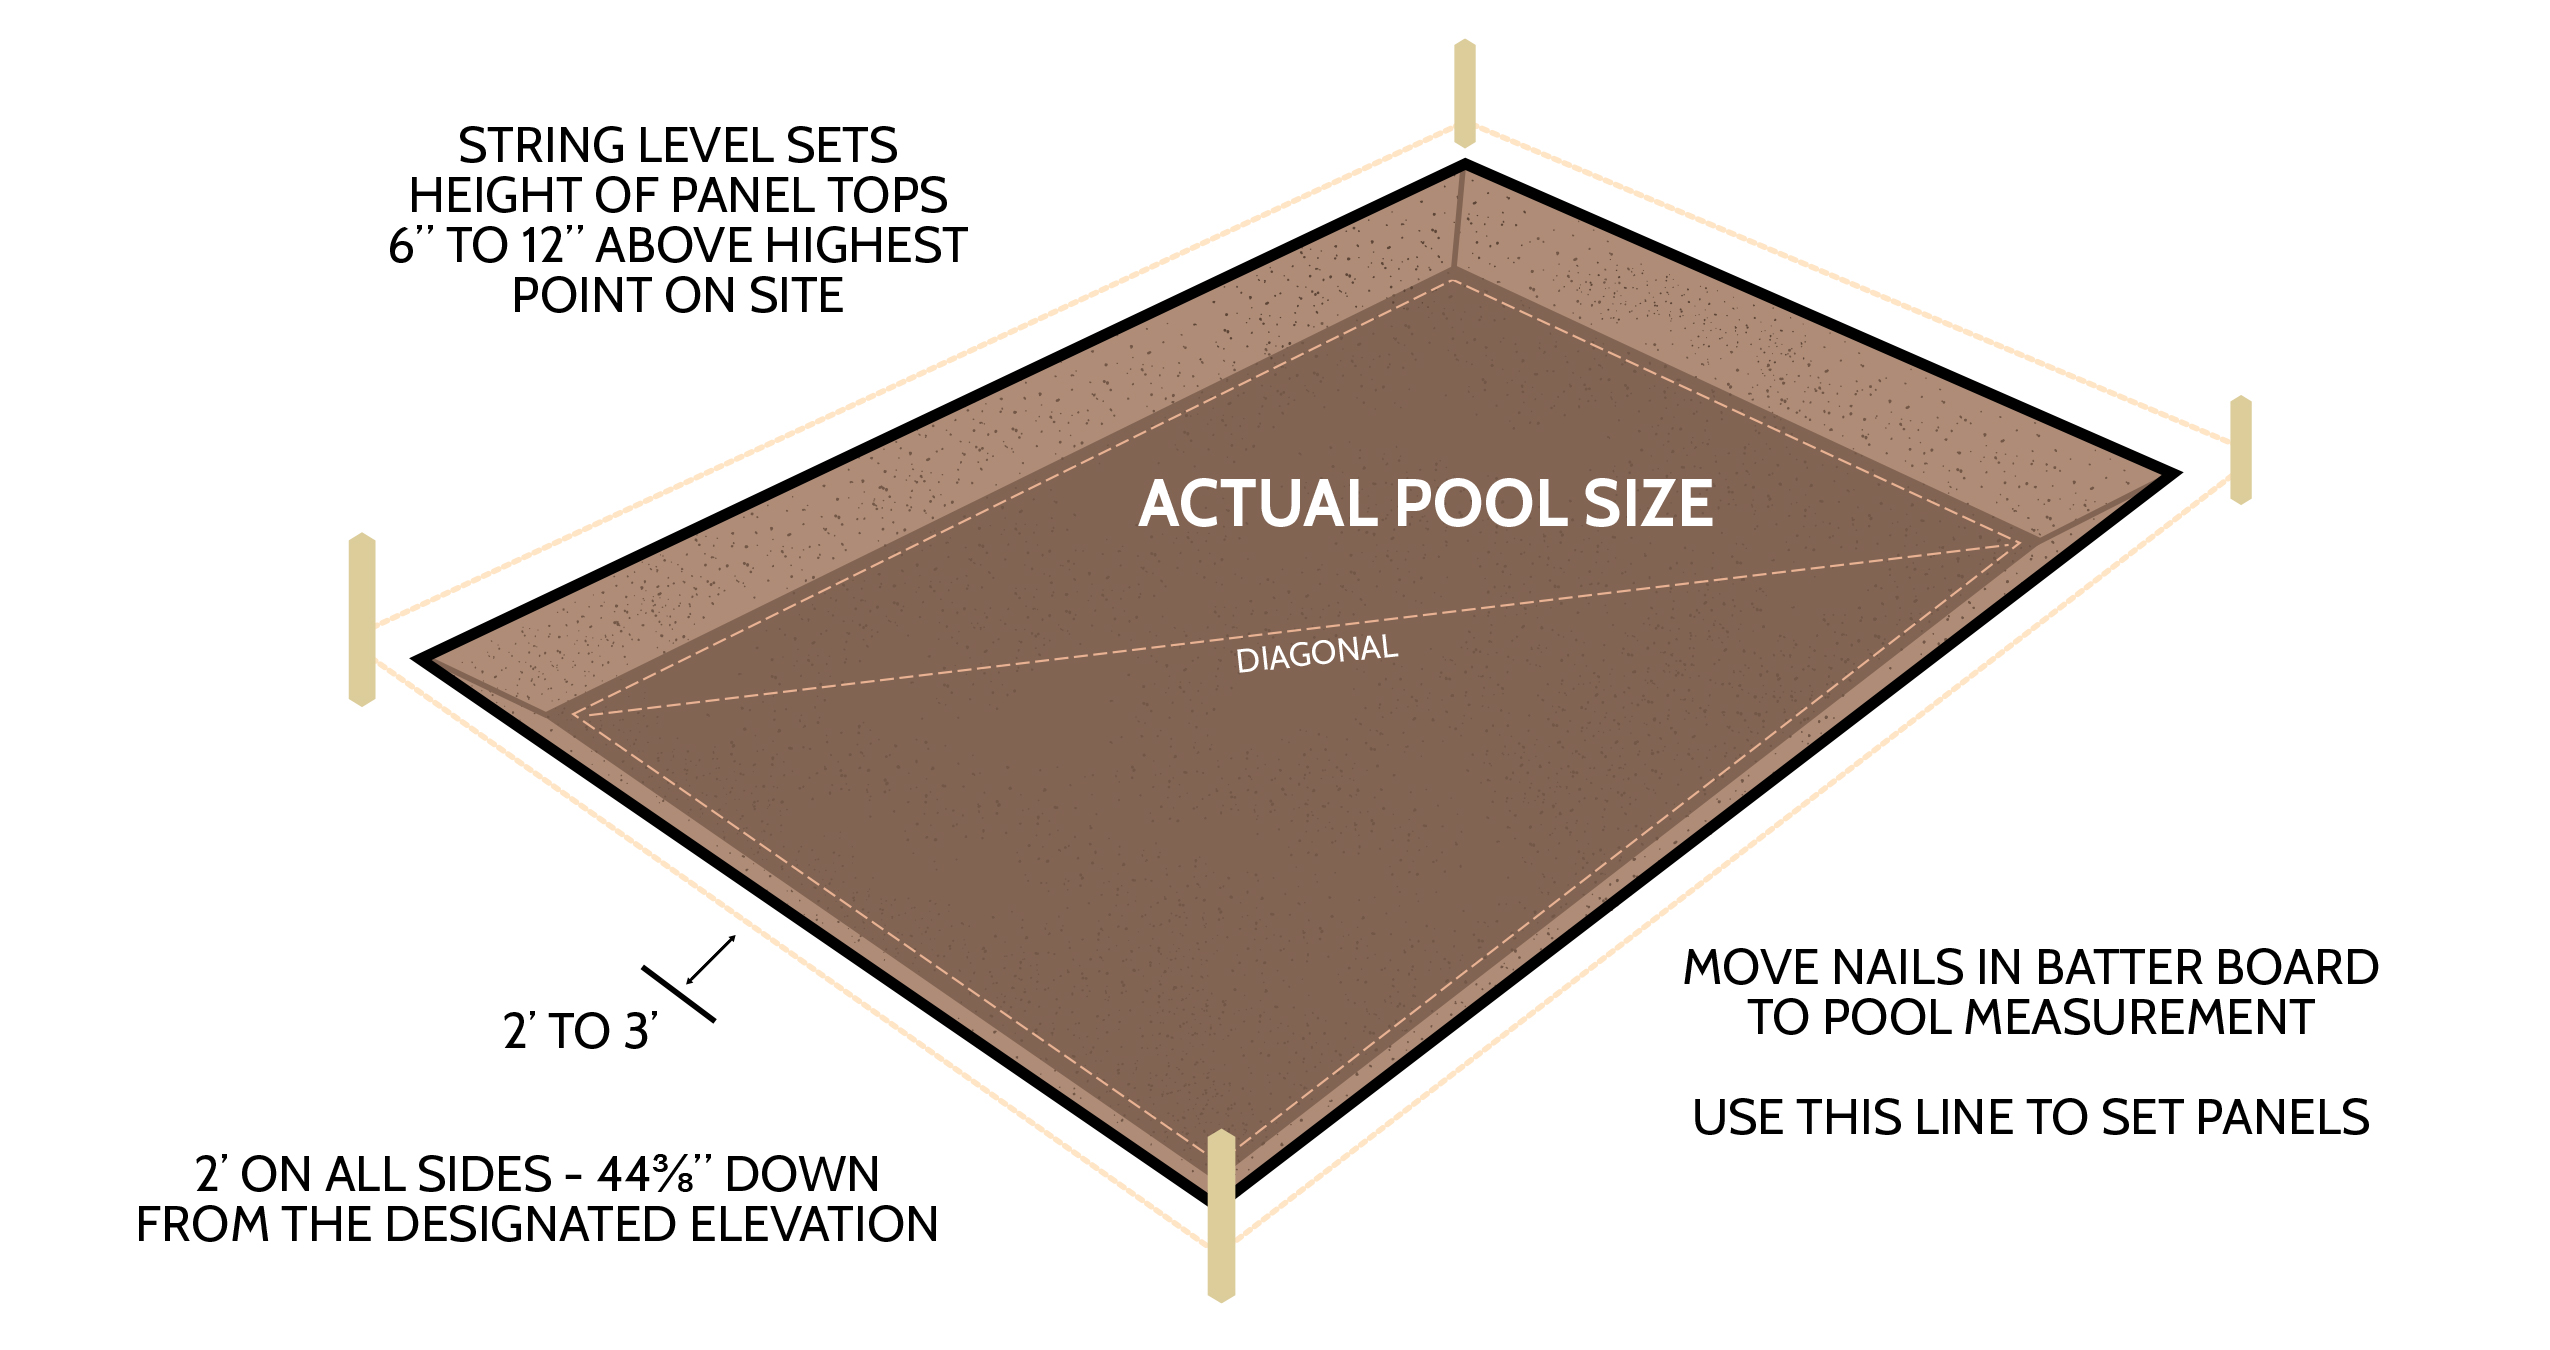
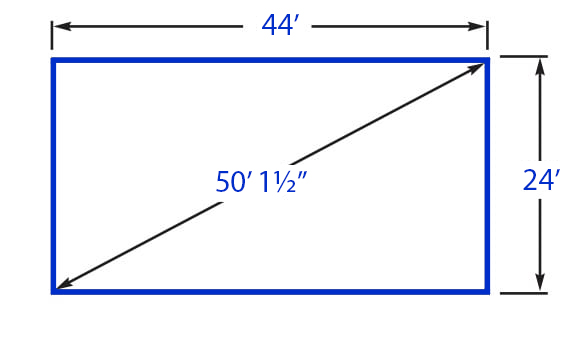
Rectangle Swimming Pool Layout Example
Start by driving four stakes in the ground to make a box two feet to three feet larger than the pool you are installing. For example, A 20’ x 40’ pool requires a box that measures 24’ x 44’ or 26’ x 46’. Square the box by measuring diagonally from stake to stake, ensuring all measurements are the same.

Free Form (Non-Rectangle) Pool Layouts & Dig Sheets
 There are many ways to layout radius pools. One of the easiest is to form a box of the maximum length and width of the pool and place a stake at the four points.
- Using two long tape measures you can triangulate the center points of the radius. You must have large space to “swing.”
- Then drive a stake at the radius center point and swing the arcs. You can initially use baking flour to mark ground so it may be easily changed prior to using the more permanent marker paint.


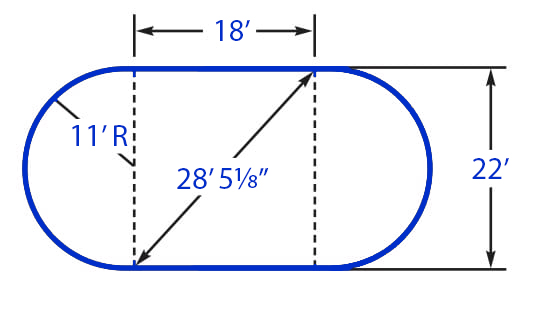
Oval Swimming Pool Layout Example
Start by driving four stakes in the ground to make a box that is four feet wider than the pool, but that measures the same in length. For example, A 18’ x 36’ pool requires a box that measures 22’ x 18’. Square the box by measuring diagonally from stake to stake, ensuring all measurements are the same. To create the radius ends of the pool, locate the center point of the 22’ width and drive a stake. Holding the end of a tape measure on the stake, move out 11’ and paint an arc, connecting the ends of each straight side.

All Images & Content © PoolWarehouse.com

Swimming Pool Layout Questions?
If you have questions about the Swimming Pool Layout please feel free to give us a call at 1-800-515-1747 or send us an email, [email protected].
At Pool Warehouse, We Know Swimming Pool Kits!


 What are our customers saying?
