Step 9: Swimming Pool Liner Installation
General Information
Vinyl swimming pool liners should be stored in areas with temperatures above 50 ̊F to prevent excessive shrinkage and permanent folds in the vinyl.
Cold Weather Installation
When installing a vinyl pool liner in temperature of 65 ̊F or lower, store the liner at 70 ̊F to 80 ̊F for at least 72 hours prior to installation. When the pool kit bottom is finished, bring out the pool liner and drop it as quickly as possible. Try to drop the vinyl liner in direct sunlight to help seat it properly. Do not leave a boxed swimming pool liner exposed to the elements.
Tools Needed For Liner Installation
- Commercial Vac/Blower 2HP 130 CFM (REQUIRED)
- Screwdrivers
- Phillips and Straight
- Razor Knife
- Garden Hose
- Broom
- Two to Four People
- Sand Bags
Swimming Pool Liner Installation
Your swimming pool liner installations can be fast and easy; just follow these guidelines!
- REMEMBER, if you cut anything before all the wrinkles are gone, YOU OWN IT.
- This installation page is a brief outline of what needs to be done when installing a vinyl liner. For further information regarding liner installation contact your local dealer.
- Tape all seams at panel joints inside the pool to secure good vacuum suction (remove the rest).
- Broom sweep and/or vacuum hard bottom of any foreign objects (dirt, pebbles, etc.).
- Secure main drain, skimmer, height and return/inlet gaskets using 100% silicone such as RTV.
- You are now ready to install the liner. Vinyl liners are best installed in warm sunny weather.
- Carefully place carton at the deep end with arrows on box facing the shallow end.
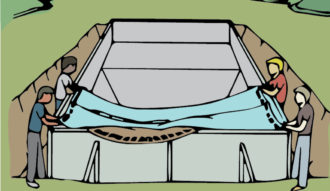
- Take liner out of the box and unroll, center up the liner and unfold top 2 layers to find hang tab. Pull the liner toward the shallow end, this will take 3 or 4 people, 2 to hold and feed the liner and 2 to pull some extra in the shallow.
- The shallow material of the liner will be on top.
- As soon as the liner is pulled into place, start filling the pool.
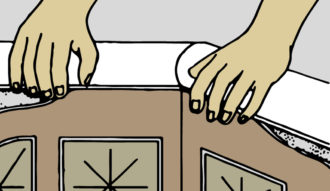
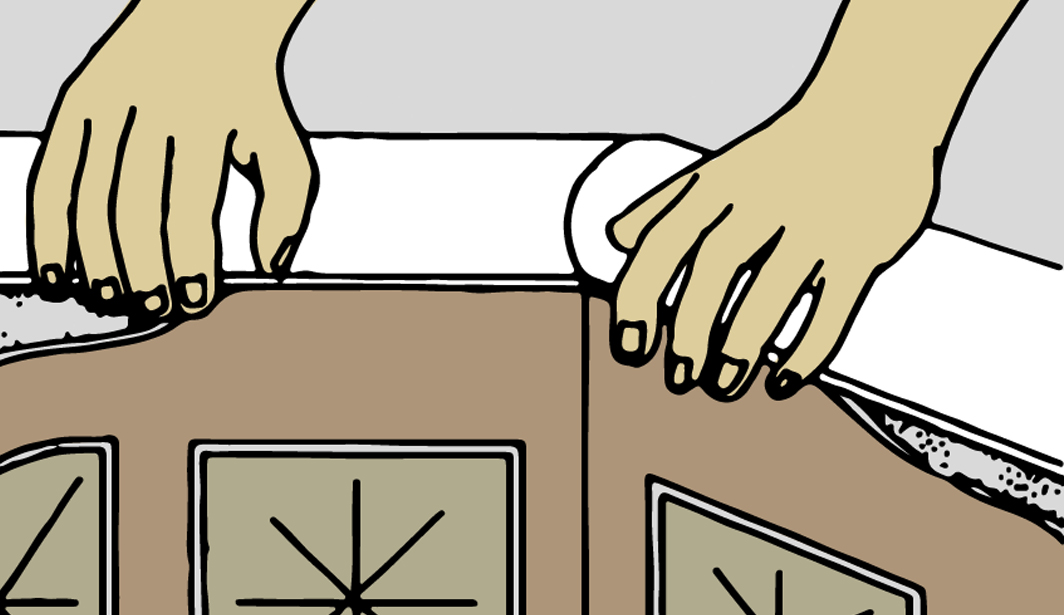
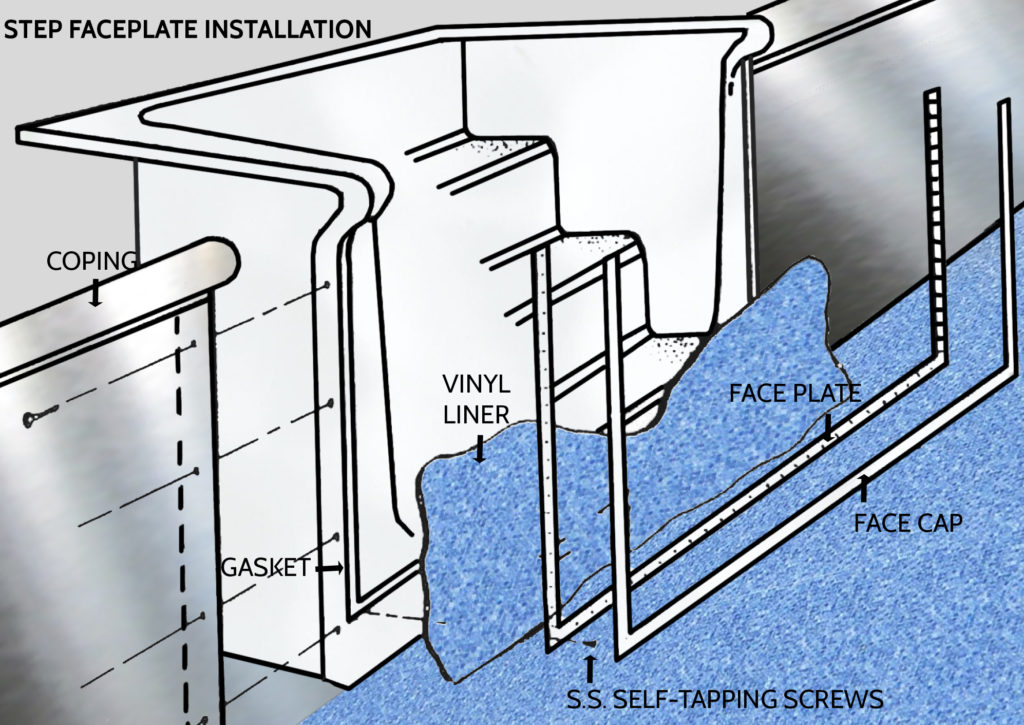
- Place liner into the bead receiver for the entire shallow end first. Once the liner is seated against the step, place bags up against where the floor and step meet at the step. This ensures that the material does not creep down toward the deep and away from the set during filling. Finish putting the bead into the receiver track for the rest of the pool. Corners should be marked with tape for reference and the deep end of the pool should be stamped “deep end” on the backside of the liner.
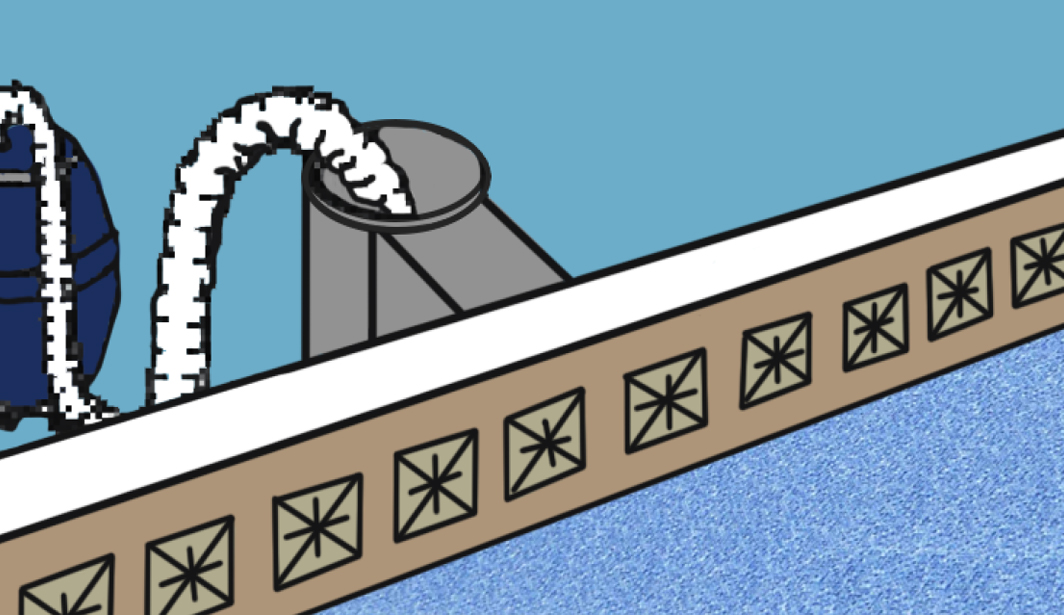
- Set up the vacuum – help liner into position. Once the liner is positioned and seated you may wish to also sandbag along the break line.

- “Important Note” – do not cut main drain, skimmer, stairs, or returns until completely satisfied with liner fit.
- Where plastic walk-in steps are used this area must be sealed off to get the proper vacuum. Place the liner uptight to the step and place sandbags in the shallow end against the face of the step, lay plastic over the top of the step and secure it to the step and the liner.
- Only if satisfied with the liner fit, and when 1’6” of water has filled in the deep end, secure main drain faceplate.
- Leave vacuum running continually until 6” of water is in the shallow end.
- At this point, the vacuum may be shut off and the hose removed from behind the liner.
- Do not install the outlet and skimmer faceplates until water reaches 1” below bottom outlets and skimmer.
- IT IS THE RESPONSIBILITY OF THE POOL OWNER TO PROPERLY RE-INSTALL THE REPLACEMENT OF THE ROPE ANCHOR DEVICES AND THE ROPE AND FLOAT ASSEMBLY FOLLOWING THE INSTALLATION OF THE LINER.
- Never drain the pool without consulting a pool dealer.
- Improper installation of the liner may void the liner warranty.
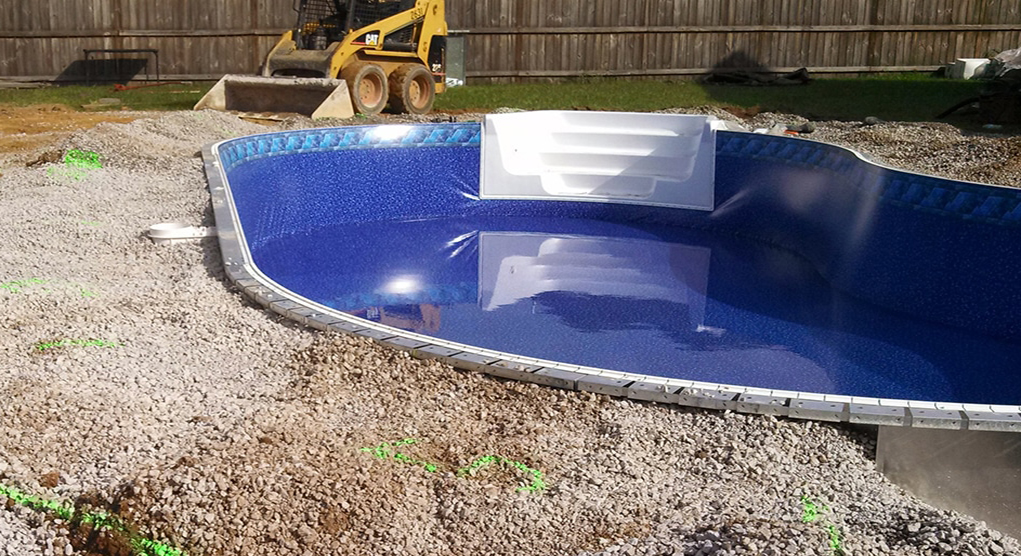
Sweetwater Step & Swim-Out Liner Installation
There are several methods used in backfilling the pool. One method is to backfill as the pool is being filled with water, keeping the water level even with the backfill material. Again this is just one method dealers over the years have developed their own ways to backfill pools. You can use any non-expansive material such as clay to backfill your pool, bring the backfill material to the top of the braces, leaving the top of the brace exposed. IF USING DIRT, PLACE IN WET & COMPACT LAYERS.
Safety Rope
Use the APSP Guidelines to determine the correct position for the safety rope. Install coping-mounted rope eyes in this position and fasten the safety rope, following the manufacturer’s instructions.
How to Backfill While Filling the Pool with Water
There are several methods used in backfilling your swimming pool kit. One method is to backfill after your swimming pool liner has been installed – start filling with water at the same time as backfilling – keeping the water level even with the backfill material. The backfill material should be placed in layers and kept even all around the pool kit walls. Bring the backfill grade to the top of the braces, leaving the brace top exposed.
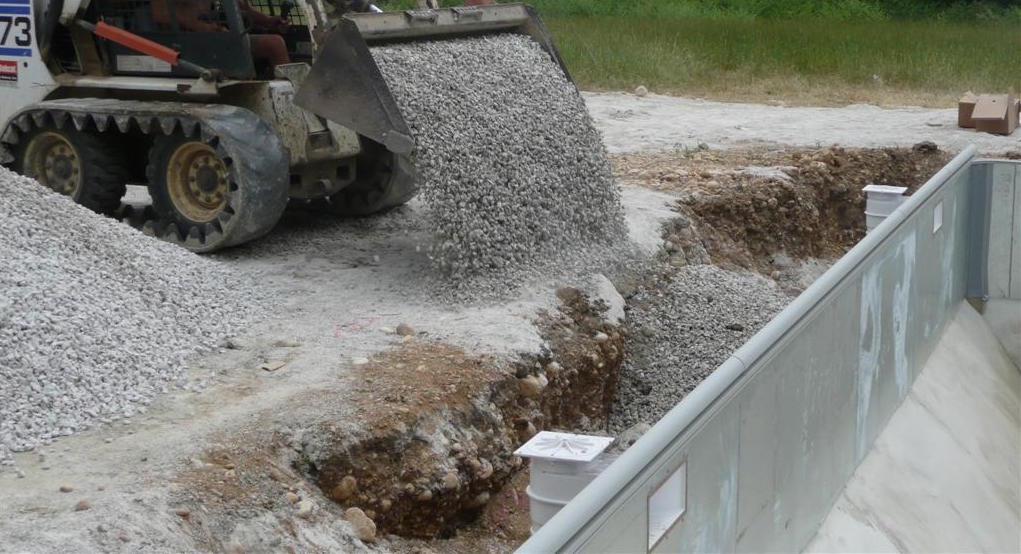
USE ONLY NON-EXPANSIVE MATERIALS FOR BACKFILL (SAND, CRUSHED STONE, ETC.). DO NOT USE CLAY, DIRT, SOIL, OR OTHER EARTHEN MATERIALS FOR BACKFILL.
All Images & Content © PoolWarehouse.com

Swimming Pool Liner Installation Questions?
If you have questions about your Swimming Pool Liner Installation please feel free to give us a call at 1-800-515-1747 or send us an email, [email protected].
At Pool Warehouse, We Know Swimming Pool Kits!

